Setting Appointments
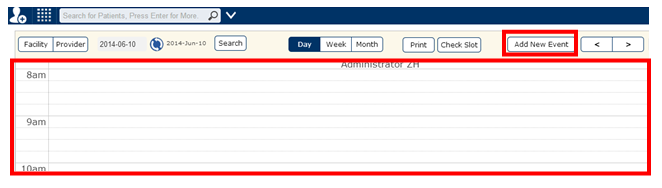
A patient can set appointments on the scheduler or the provider can set his scheduler by clicking the scheduler screen and a popup will appear as shown below
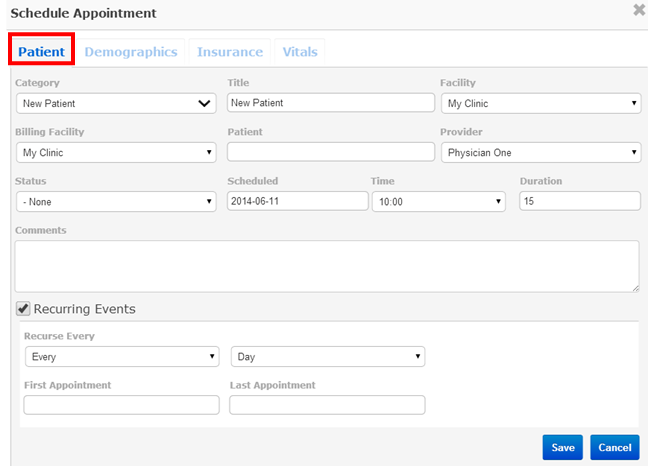
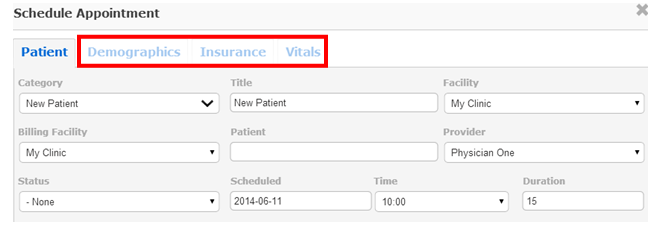
On the screen shown above, create an appointment by filling up the details as pertinent to the patient. Here you can also be view the demographics, insurance and the vitals of the patient by clicking on the areas shown below
The fields that must be filled are –
Category: – It defines the category to which the patient belongs. It would be defined in the settings area shown below. The popup comes when the “Settings” icon marked in the below figure is clicked.

Title: – By default it is the category. You can edit it according to our requirement.
Facility: – The facility in which appointment is set.
Billing Facility: – The entity to which you will bill the encounter.
Patient: – Patient name.
Provider: – The provider name.
Status: – Status of appointment can be set here. The”@ Arrived” status automatically creates an encounter.
Comments: – You can enter a comment.
You can also set the time and duration.
The “Recurring Events” area can be used to enter the events that are repetitive in nature.
On clicking the save button, the details of the appointment appear on the scheduler.
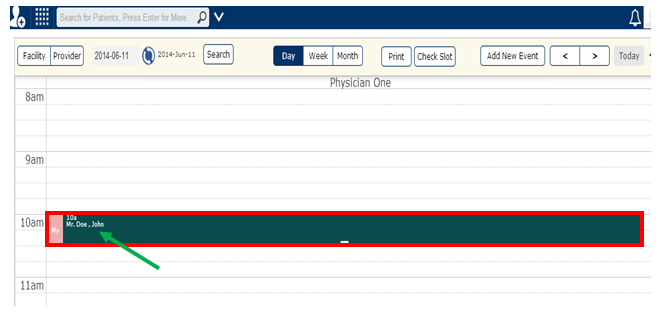
Clicking on the patient name (shown with the green arrow) on the appointment on the scheduler you can go to the patient chart.
The “Check Slots” tab shown below, finds the times that the provider is free for appointments to be booked.

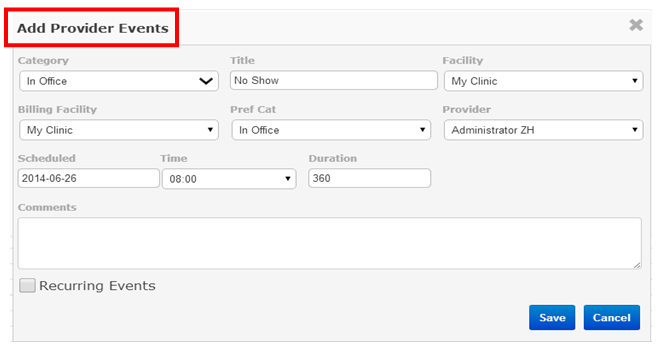
You can also set the scheduler in the provider’s perspective by clicking on the “Provider” name shown below.

The area where you add the doctor’s appointments will be as follows
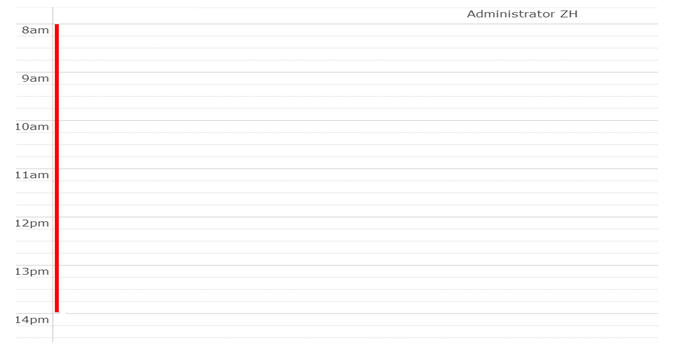
On saving the information, the provider’s scheduler will appear as follows, with a thin line marking the category that has been set for the provider.